One of my favorite ways to kick start the holiday season is to roast pumpkin seeds!! This has been a family tradition that I hope my kids will continue with. I’m pretty sure they will, since they have come to impatiently wait for them. All hail pumpkin season!! Nothing says Fall like perfectly roasty toasty pumpkin seeds! And Pumpkin Spice Lattes, fuzzy blankets, (I am obsessed) baking, cooking anything that is Hygge! Let the Holidays begin!!!

Just know before you start, these are a labor of love. If you know that going into it, you might not roll your eyes so much. Let me tell you thought, IT WILL BE WORTH IT!!
Something to note before you start. On top of the tedious job of rinsing and cleaning the seeds. I highly recommend that you boil your seeds. I boil my pumpkin seeds and soak all my whole grains and nuts before I roast them. Reason being, they contain phytic acid, which is naturally found in seeds, whole grains and nuts. Phytic acid can prevent the absorption of some nutrients, like zinc, iron and calcium. By soaking the seeds before roasting them rids most of the phytic acid that they contain helping you to get even more nutrition out of them!
Alright, lets get roasting!!
Step 1
Grab 2 colanders, one that has your pumpkin seeds fresh from the pumpkin, the other to transfer your rinsed and clean seeds into. Get ready!! Here comes that “labor of love” part. You are going to rinse, pull off and discard all the pumpkin guts.

You’re now elbows deep in rinsing and cleaning and more rinsing and more cleaning!!! Like a good hair washing. Rinse, remove, repeat!! *Remember this is worth it!!* I’m cleaning 5, fairly large pumpkins mind you. So I was here for about 30 min. Maybe stop and stretch 😉

Step 2
All clean!! Now place in a bowl, fill with water and soak for 30 min on counter. (Don’t clean that colander yet, we are going to need it again) Or you can soak overnight in fridge. Either way, when the time is up, dump and discard water when you’re all done soaking.

Step 3
Now we are going to boil those babies for 10 min. Giving them a little stir, occasionally. And pre-heat your oven to 350 degrees F.

Step 4
Remember that colander we didn’t clean!! Dump back into that and drain. (I let mine sit in colander for about 10 min, to get rid of excess water) I then drizzle my olive oil over seeds, and mix well. Add salt and mix well again. I “usually” do this in the colander to skip dirtying up another bowl. I did this step in a bowl for photo purposes.

Step 5
Now transfer seeds to your cookie sheets. Make sure to line them with parchment paper or I LOVE silicone baking mats. (I’m trying hard to be more Green and eliminate environmental waste. Plus I really do love them, easy to clean and store. Win win!) Get them in a nice single layer to help them cook more evenly. Now its time to get these little babies into the oven!!

Step 6
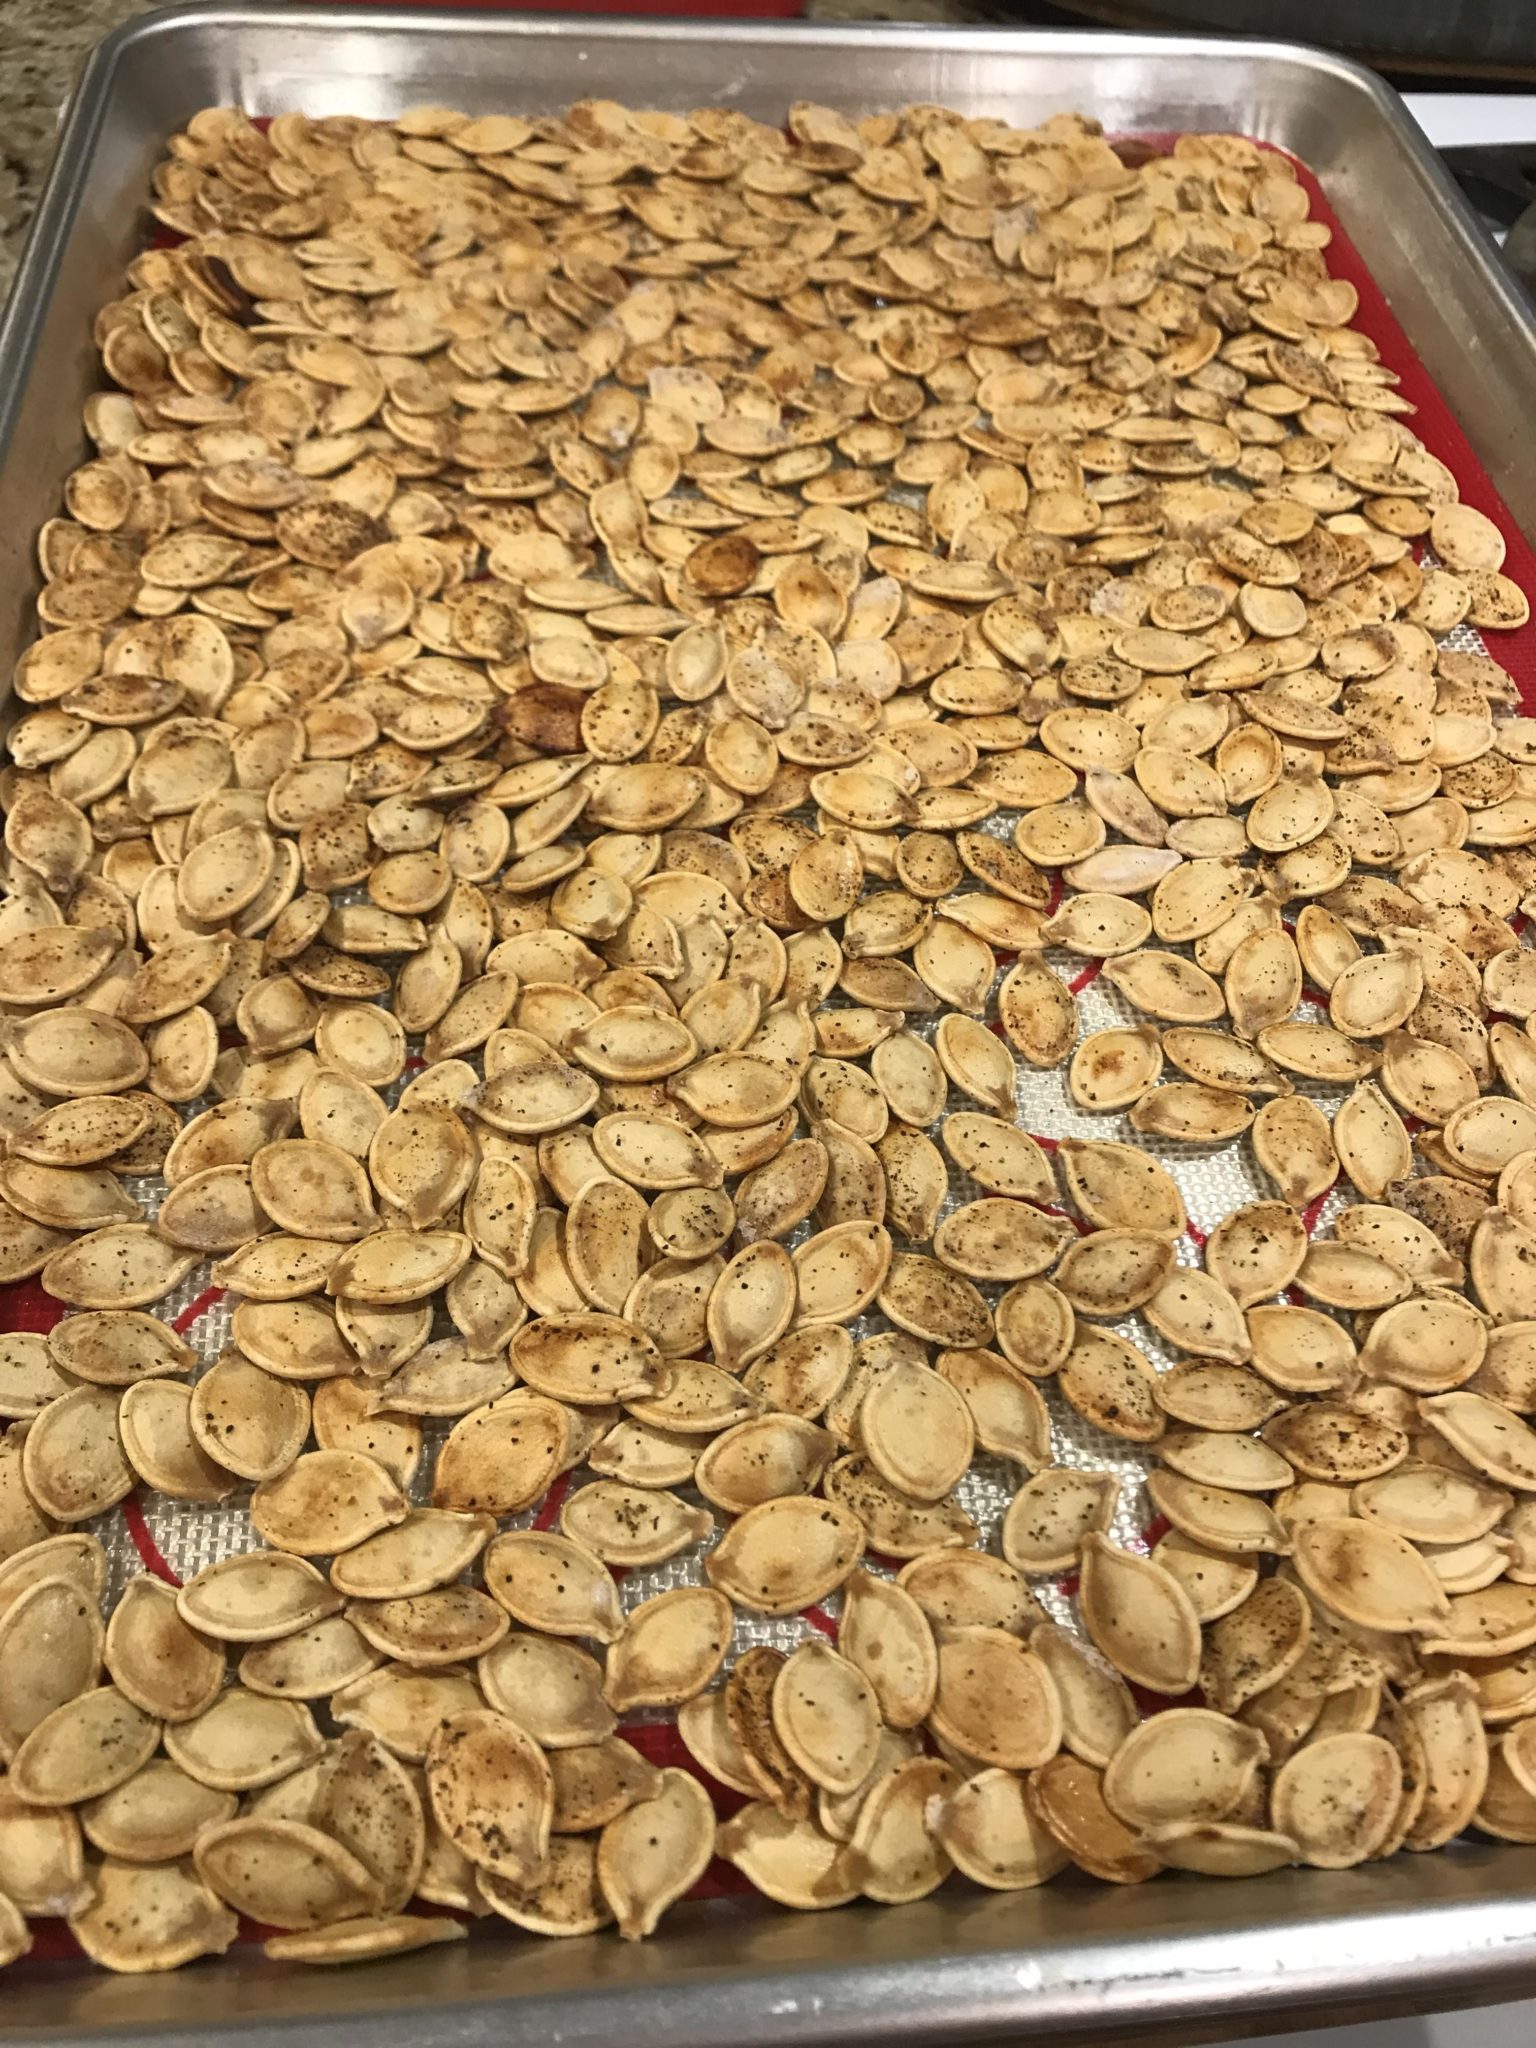
Start roasting and set timer for 10 min. Take them out and mix them around and back to a single layer. Then place back into oven for 10 min. Do this 4 times. Equaling cooking time of 40 min or until golden brown.

Step 7
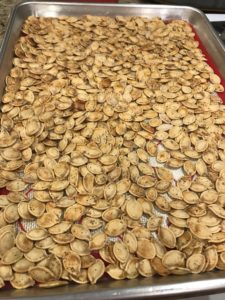
Ahhhh, it’s a beautiful sight, isn’t it! Let them cool a little and enjoy!!
If you’re new to eating pumpkin seeds… you can either crack them and eat just the seed inside, like eating sunflower seeds. Or enjoy them like we do and just eat them whole. Either way, give yourself a little pat on the back (pat, pat) and ENJOY!!
Store them in and airtight container for up to a couple weeks. If they last that long. I store mine in Mason Jars and keep them on our island.


Equipment
- 2 collander
- large sauce pan
- parchment paper or silicone baking mats.
Ingredients
- pumpkin seeds
- olive oil
- salt
Instructions
- Grab 2 colanders, one that has your pumpkin seeds fresh from the pumpkin, the other to transfer your rinsed and clean seeds into. You are going to rinse, pull off and discard all the pumpkin guts.
- Rinse, remove pulp, prepeat!! *Remember this is worth it!!* I’m cleaning 5, fairly large pumpkins mind you. So I was here for about 30 min. Maybe stop and stretch 😉
- All clean!! Now place in a bowl, fill with water and soak for 30 min on counter. (Don’t clean that colander yet, we are going to need it again) Or you can soak overnight in fridge. Either way, when the time is up, dump and discard water when you’re all done soaking.
- Preheat your oven to 350°F
- Now we are going to boil seed for 10 min. Giving them a little stir, occasionally.
- Remember that colander we didn’t clean!! Dump seeds back into that colander and drain. (I let mine sit in colander for about 10 min, to get rid of excess water) I then drizzle olive oil over seeds, and mix well. Add salt and mix well again. I “usually” do this in the colander to skip dirtying up another bowl.
- Now transfer seeds to rimmed cookie sheets. Make sure to line them with parchment paper or I LOVE silicone baking mats. Get them in a nice single layer to help them cook more evenly.
- Place in oven, and set timer for 10 min. Take them out and mix them around and get them back to a single layer. Then place back into oven for 10 min. Do this 4 times. Equaling cooking time of 40 min or until golden brown.
- Remove when golden brown, let them cool before eating.
- Enjoy and Happy Carving! ~Jeanne
- *Store them in and airtight container for up to a couple weeks. If they last that long. I store mine in Mason Jars and keep them on our island.


Leave a Reply